Thinking about purchasing some garage flooring to cover up that boring gray concrete? You’re in the right place. The good news is that garage floor installation is incredibly DIY-friendly, no matter what option you choose.
That means you can save time and money by installing the flooring yourself instead of hiring a professional installer. In this guide, you’ll learn how to install the most popular garage flooring options, discover some helpful DIY tips, find out what tools and materials you need.
Related Content >Garage Flooring Buying Guide
How to Install Garage Floor Tiles
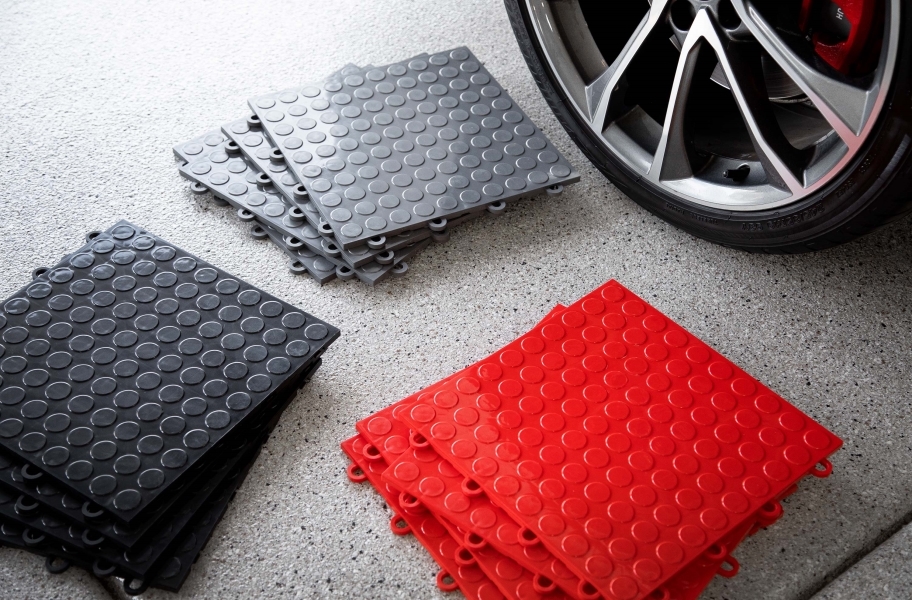
Garage tile flooring offers the easiest installation out of all of your options. With garage tiles, you can customize your style by mixing and matching colors and creating patterns like checkerboards, stripes, and more.
There are two types of garage tile: hard plastic tiles and soft PVC tiles. While the installation steps are slightly different between these two options, they’re both still incredibly easy.
Tools and Materials:
Double-sided tape (optional)Expansion joints (optional)Tile cutter or a power sawFor More Inspiration >Follow Our Instagram!
Installing Hard Plastic Garage Floor Tiles
Hard garage tiles are designed with peg and loop edges. All you have to do is insert the pegs of one tile into the loops of another and then snap them together. Follow these steps for more detailed instructions!
Clean your subfloor so that it is free of all dirt, dust, and grease.Start in the front left corner of the room, and work your way out from there. Make sure the loop sides of the tile are facing away from the wall. Connect tiles by snapping the peg sides into the loops.After lining the left wall and the adjacent wall with tiles, proceed to fill the rest of the room with whole tiles.When you come up to a wall or obstruction, measure the area and cut the tiles with a tile cutter or a power saw with a fine-toothed blade. Then put the trimmed tiles into place.When making cuts, ensure you leave a 3/4” space between the tiles and the wall or obstruction.To complete the look, add edge pieces.
Expansion Joint Installation
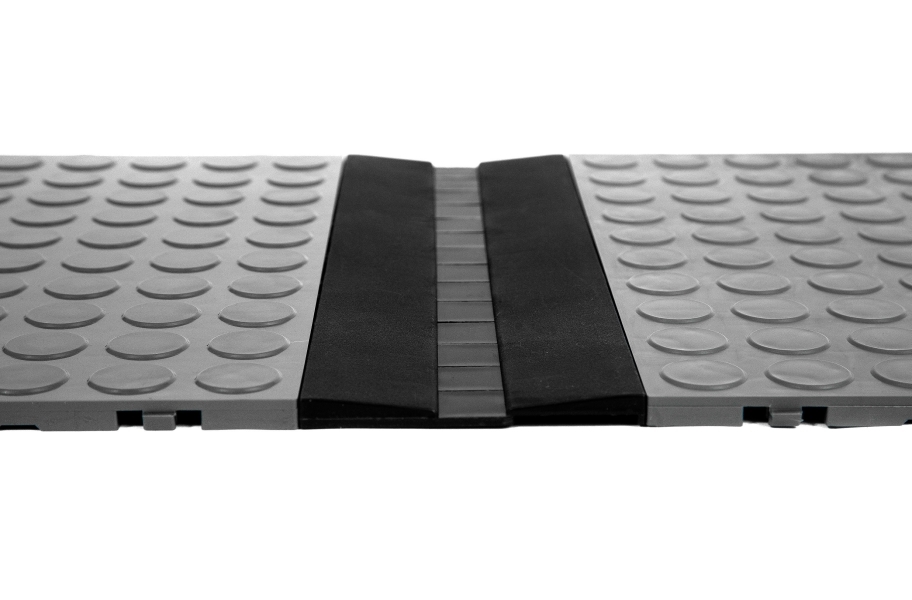
Plastic tiles can expand and contract with extreme temperature changes. Expansion can cause your floor to buckle, so we recommend installing expansion joints to prevent this. They interlock with the edges of the tiles and allow the floor to shift as the temperature changes.
When installing expansion joints, the location will depend on how large your garage is. For one-car and two-car garages, you can place the expansion joints in the middle of the floor.
For three-car garages, install the expansion joints in the middle of both the large bay door and the small one. This will ensure that buckling doesn’t transfer throughout the floor.
For large warehouse spaces, you should install the expansion joints in a perpendicular pattern in the middle of the floor. You can use an expansion intersection joint to create this effect.
If you are using edge pieces at the entrance to your garage or warehouse, use our expansion joint edges to fill in the gap at the edge with the expansion joint is located.
Related Content >How to Clean and Maintain Garage Tiles
Installing Soft PVC Garage Floor Tiles
Soft PVC tiles feature interlocking edges that resemble puzzle pieces. Some products are designed to conceal these edges for a more seamless look, but for others, the interlocking tabs are visible.
No matter which option you choose, you’ll have an easy time connecting the tiles to install your floor.
Just follow these steps!
First, make sure your subfloor is clean and free of all dirt, grease, or dust.Snap a chalk line on the subfloor 20” from one wall. Snap another chalk line on the subfloor 20” from an adjacent wall. You should now have a pair of perpendicular lines making an approximate 90-degree angle.Begin laying the interlocking tiles along the chalk lines, snapping the locks together as you go.Leave the other two edges of the room open until the middle is installed.After the rest of the room is covered, use a utility knife to cut tiles to fit along the opposite walls. Leave a gap along the walls roughly the thickness of the tiles to account for expansion and contraction.
Note: You don’t have to use glue, because the tiles should stay in place under their own weight. However, if you would like some extra stability, you can use some double-sided tape or mat tape around the perimeter.
Shop All Garage Tiles
Related Content >Best Garage Flooring Options
How to Install Garage Rolls
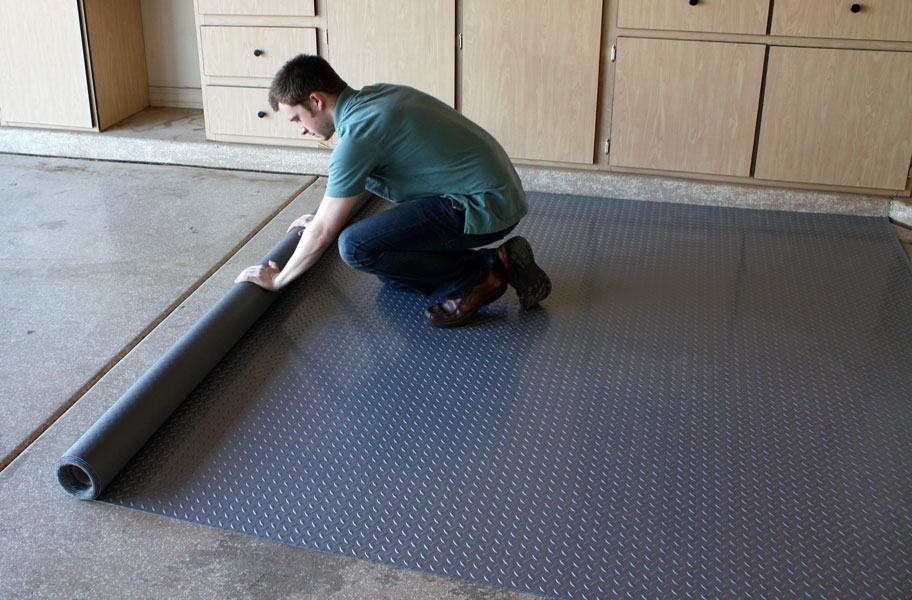
Vinyl garage rolls provide a simple, seamless floor, and you can easily install them on your own. Just roll them out, tape down the edges, and you’re done!
Depending on how you use your garage, you may want to glue down the roll. If you expect heavy traffic, or if you’re installing the flooring in a commercial area, glue-down installation is required. Don’t worry though! It’s still really easy.
Tools and Materials:
Double-sided tapeAdhesive (optional)Utility knifePush broom or weighted roller
Installing Garage Roll Flooring
Ready to install your own garage roll flooring? Let’s begin!
Make sure the subfloor is clean, dry, and free of debris. Sweep dirt out of your garage and remove any lumps or excess cement/debris that might cause bumps on the surface.Unroll your flooring and position it at the front of your garage, one roll at a time. Use a push broom to push out any air underneath the roll.When installing multiple rolls wall-to-wall, you can make one of two joints: an overlap joint or a butt joint.For overlap joints, one roll will be placed over another about 1-1/2″ – 6” to create a virtually seamless floor.For butt joints, fold back the edge of roll #1 and wipe it clean. Attach double-sided tape along roll #1’s edge, leaving 2” of tape exposed, and fold the roll back into position. Next, you fold back roll #2 and wipe the bottom edge clean. Carefully align it along the edge of roll #1, making sure not to stretch the mat or tape when applying.When cutting material for wall-to-wall installations, use a sharp utility knife to trim the edges around exterior walls, poles, boards, and other obstacles. Leave a 1/4” gap to allow for expansion and contraction of your floor.Once the roll is cut to fit, let it lay flat and acclimate to the space for at least a day. After the product has been allowed to relax in place, hold down the edges or seams with double-sided tape.
Note: For high-traffic areas or commercial garages, you should glue down the floor. To do this, you’ll start by following the instructions above.
Then spread a thin layer of adhesive around the perimeter of the installation area, and lower the edges of the roll carefully onto the adhesive. You can then use a weighted roller or push broom to ensure no air bubbles are trapped under the floor.
Shop All Garage Rolls
Related Content >How to Create Your Dream Garage
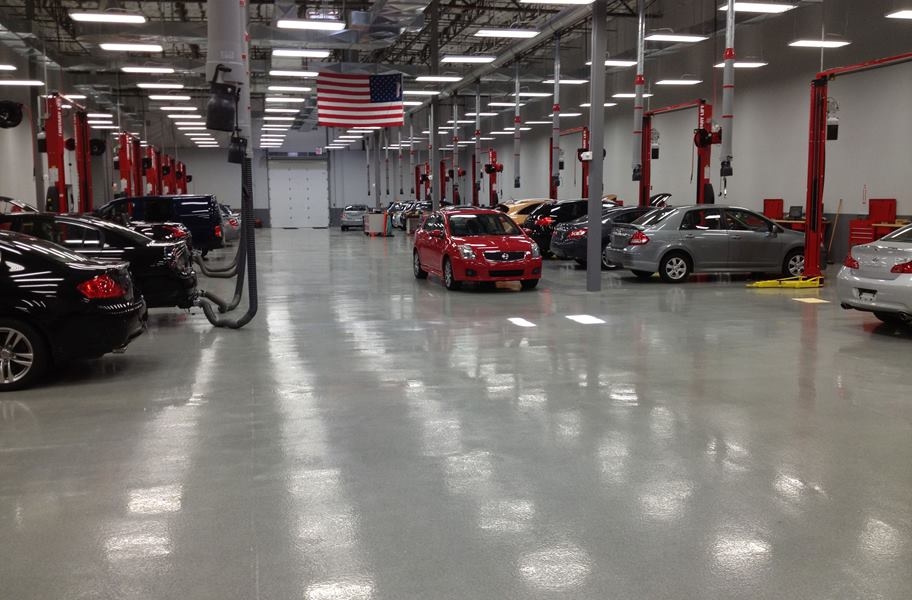
How to Install Garage Floor Coatings
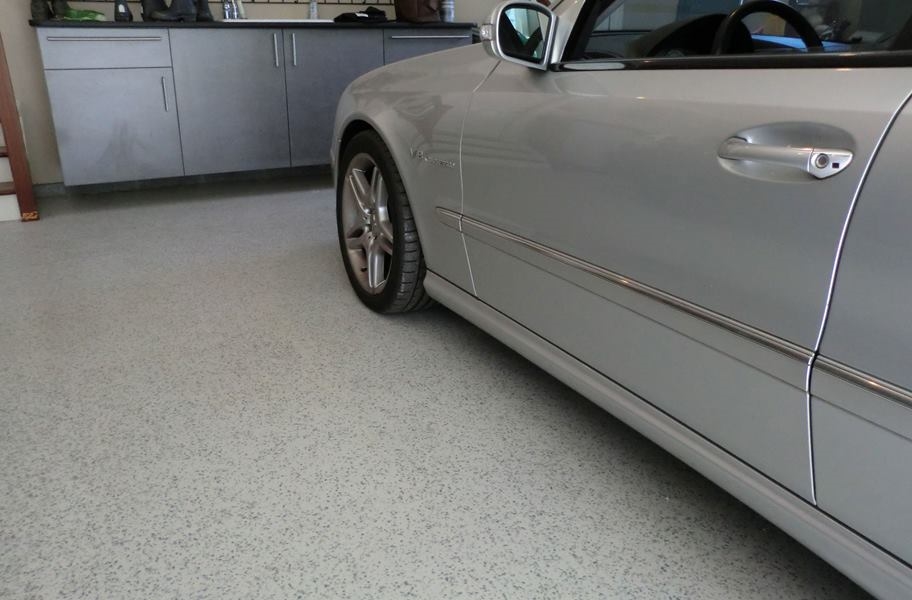
Improving your garage with a garage floor coating is almost as easy as painting a wall, and if you have the right tools, this is another DIY-Friendly project.
You can choose from two popular floor coating options: epoxy and polyaspartic. These coatings are both very similar, but polyaspartic dries much faster. Regardless of which option you prefer, we have the tips and tricks to make your installation a success.
Tools and Materials:
Extended paint rollerSqueegee (optional)Bristle paintbrushProtective breathing gearNon-skid granules (optional)
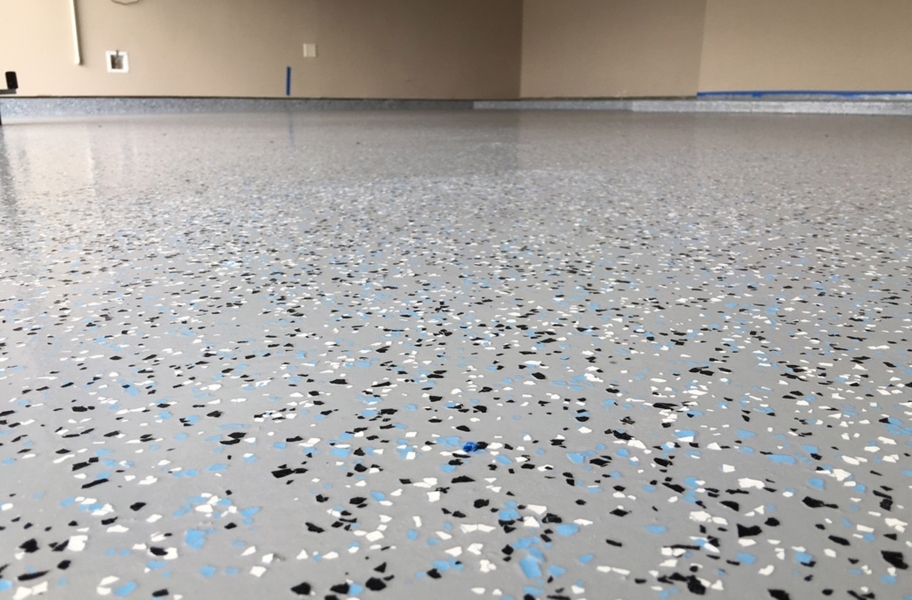
How to Apply Epoxy Flooring
Epoxy is the most common floor coating, so you’ve probably heard of it. You need to apply a few layers to ensure consistent coverage, and it can take around 16 hours for one layer to dry.
This might sound inconvenient if you’re in a hurry, but that longer drying time can be good for DIYers who don’t have a lot of experience. It means you don’t have to rush the process.
Please Note: Epoxy vapors can be powerful, so always wear protective breathing gear such as a respirator with an acid filter.
Start with a clean, dry concrete subfloor.Paint around the edges of the space with a bristle brush, and then fill in the rest with an extended paint roller.Allow the first coating to dry. This will take around 16 hours, but the most accurate information will always come from the manufacturer. Right after applying the second layer, add non-skid granules if desired. The granules reduce the risk of a slippery surface, so it’s generally a good idea to include them.After the second layer dries, add a top coat of polyurethane if desired. After that dries completely, your floor is ready to handle foot traffic.
Note: It can take up to a week before the epoxy is ready for cars to park and drive across the surface. The epoxy won’t fully cure until around a month passes. As always, the most accurate drying time estimates will come from the manufacturer.
How to Apply Polyaspartic Flooring
Polyaspartic garage floor coating is a new development, so you might not have heard of it before. The most important thing to know about it is that it dries much faster than traditional epoxy.
If you’re confident in your ability to apply the coating quickly, this faster drying time is convenient. However, you may wish to hire a professional if you’re worried you could make a mistake.
Make sure your concrete subfloor is dry and clean.Pour ribbons of polyaspartic across the floor and evenly spread it with a squeegee or roller. The recommended thickness of the layer will depend on the manufacturer. Once the first layer is dry (usually in an hour or less), start on the second application. This second layer will include any non-skid traction chips you might want to use.Allow the second layer to dry according to the manufacturer’s recommendations, and then enjoy your new floor!Shop All Garage Floor Coatings
Related Content >Polyaspartic vs. Epoxy Garage Floor Coating
Conclusion
No matter what kind of garage flooring you prefer, you’re now prepared to install it on your own. You can quickly and easily upgrade that boring concrete floor to something more stylish and easier to clean.
If you’re ready to take the first step of your garage revamp, check out all the bold colors and patterns we offer in garage flooring!
Order Free Samples Shop All Garage Flooring
The post Garage Floor Installation Guide: Tiles, Rolls, and Epoxy appeared first on Flooring Inc.